what the hell is this blog anyways?

To the 3 people that will read this...

Expect game reviews and replays from our weekly game. I may also talk City of Heroes, movies, books and whatever else catches my fancy.

Saturday, December 15, 2012

F@#$ Macao

Macao, MaCOW, My Cow, Mike OW!

Plot:  You are an Italian trading company.  I think.

The theme doesn't really work.  And in fact, occasionally gets in the way of the game.  For example, there are commodities to deliver, but the pictures of the commodities aren't intuitive or easily decipherable.  A specific example is "Get double points when you deliver tea".

Ok.
Great.
What the hell does tea look like?


You can match pictures to pictures for deliveries but there is not key/guide or whatever saying what the pictures actually represent.

Goal:  Its a game about victory points.  There's quite a few ways to get victory points.  Buying commodity tiles, delivering commodity tiles, acquiring money and grinding that into VP, or acquire buildings that give VP.  There's also punishment tokens, if you screw up along the way you get -3 VP.

Mechanics:  There are 3 phases per turn and 12 turns.

Phase 1:  Draft a building.  There are 2 generic style buildings, titled 'offices' for each turn.  Those plus one for each player in the game are dealt.  Draft order is determined by a track called "The wall".  Furthest up on the wall goes first, and in case of ties, who ever reached the wall most recently wins.  This is represented by stacking tokens, and you go top to bottom for turn order.  More on buildings during the action phase.


Phase 2:  Influence acquisition.  Every player has a 7 sided wheel.  One side has an arrow, and the rest have a number from 1-6, matching the results of D6 roll.  Duh.


 There are 6 currencies of influence, or in game terms Action Cubes (AC).  Each cube has a colored D6 corresponding to it.  So roll 6D6.  Lets say the results are 1, 2, 3, 5, 5,and 6.

Each player then gets to select 2 dies worth of influence.  If you select the yellow one and the purple five, you get 1 yellow cube place at slot #1 and 5 purple cubes placed at slot #5. A red 2 (standing by) and a blue 3 gets you 2 red cubes at slot 2 and 3 blue cubes at slot 3.  Clear as mud?


After selecting, you rotate the wheel clockwise, so the cubes previously placed at turn 1 now align with the arrow.  These are this turns action cubes.  So by delaying your use of these cubes you can take huge monster 15 cube turns in the future.

(aside, during set up you do get to select cubes for the #1 slot and #2 slot.  don't worry about having nothing to do turn 1 or 2).

Phase 3: Actions.

You can do these in any order.  Oh yeah, this is important.  You can not bank influence cubes.  You must spend all of them.  That's what makes the game interesting!

"Activate a building" - ok this is a FTG misnomer.  It's activate a drafted card.  Why the difference?  Because the cards are typed, and one of the types is buildings (design flaw?).  Activate means to grab from your reserve and place into play, there is always an influence cost associated with them.  It turns out that 4 same color cubes  is easier to play than 3 different cubes.  Not sure yet if its harder than two different cubes.  The toughest to play require 4 different colors.  In theory, the multicolored dudes are better.  You can activate as many buildings as you have cubes for, there is no cap.


"Utilize a building" - each activated building can typically be used once a turn.  There are exceptions but those are listed specifically on the card.  The basic cards available every turn read something like "Turn a grey cube into 1 gold".


The buildings deck is basically a deck full of exceptions.  Get a card in play and buying this costs one less, or you can perform this action twice, or get free gold/cube/VP a turn.


"Buy a commodity/city block" - pay the influence cost and remove the commodity tile from city block and replace it with an ownership tile.  Commodities are Tea, China, Silk and some other sh!t I will never remember.  That art isn't intuitive at all.  Fortunately there are matching pictures on the delivery site.  Commodity costs run from 1-4 in matching cube colors.  You can also buy jokers, for the cost of 4 cubes in two different currencies you get a token that can be used as an "any color cube" or "+3 gold".  You can only buy one city block.  It is also advantageous to get city blocks next to each other, those count for end game scoring.

"You want me on that wall, you need me on that wall" - advance your turn order token up the wall.  Doing this once costs one generic cube.  Each additional spot costs 2.  So to move 2 spots costs 3 cubes, and to advance 3 spots costs 5.


"I'm on a boat" - move your cargo ship towards a delivery location.  Costs 1 generic cube.


 "Spend gold on prestige" - the VP grind takes two steps.  First you have to grind influence into gold, then once a turn you have the opportunity to turn gold into VP.  During the draft, each card at the bottom had two numbers, a gold count and a VP count.  The sum of the gold is how much it costs to activate this turn, and the sum of the VP is how much you get.  I've only played twice but the best ratio so far was 3 gold for 8 VP, and the worst was 6 gold for 7 VP.


Punishment Tokens:

There are two times during a turn that you can earn a punishment token, which is worth -3 VP and you feel shame.

#1:  You have a limit of 5 buildings that you can keep in reserve.  If you draw a 6th, you must discard a building and lose 3 VP.

#2:  Any time you spin the wheel and it shows up on a slot devoid of any influence cubes you lose 3 VP.    

Winning the Game:

First, avoid punishments.  In that regard, each building is worth 3 VP, because you get docked for any buildings still in reserve at the end of the game.

Delivering cargo gets you VP.  First one to a spot gets 5VP, second place gets 3VP and 3rd place gets 2.  (There are never more than 3 deliveries).

Grinding cash for VP.  

Specific building cards may earn you VP during the action phase.
               --  "If you have less than 2 goods on your boat, get a VP"
               --  "If you move your boat 2 squares, get a VP"

Other building cards may earn points at end game.
               -- "Get 1 VP for each person typed card in play"
               -- "Get 2 VP for each different  office card in play"

Blobs of city blocks earn you 2 VP for your biggest connected section.  In other words, if you own 9 city blocks and 7 are adjacent to one another you get 14 points.  The two hanging out by themselves count for jack.

 Tactics and Tips:

Preliminary based on two games played.... 

Going first is somewhat important.   In some instances it might actually be key.  Getting the right buildings or the easy to activate buildings is kind of a deal.  I am not sure if you need to be first for most of the game, but certainly you are handicapped if you go last often.  Invest in the wall, at least a little bit.

Early game and mid-game avoid the 1 or 2 cube rolls.  Or better stated, have a compelling reason to not get 3 or more.  Getting a 1 cost commodity isn't a compelling reason.  At end game, the higher die rolls are reset to 1's so there will be no avoiding 1 cube grabs eventually.  I'm not sure, but I think I would prefer to take a punishment token instead of grabbing one cube for a probably lame turn.

I think 3's and 4's are the most important numbers on the early rolls.  Yes 6's look pretty, but the truth is there is not a lot you can do with 6 of a kind until you are ready to move your boat.

The best buildings early are the ones that give you free stuff.  Like there are several cards that give you a free influence token, which everyone loves.  But underrated are the the money ones.  Since typically you grind influence into cash, free money is free influence.  Similarly, there's a building that advances you up the wall for free.  That's also a free generic token.

There are so many permutations for getting VPs that I can't tell you any optimum way to win.  

My first game Juan won with a grind deck.  He had multiple cards that earned a few VP every turn and multiple cards that turned influence into cash.  He was able to use the cash for VP nearly every turn.  Yeah he delivered stuff too, and had some end game cards, but mostly the bulk of his points came on the grind.

My second game Ryan won with a combination of deliveries and city blocks.  He had 2 cards that gave bonus points for delivering stuff, and and got about half his points from bringing commodities to ports.

That second game I finished ONE point behind Ryan and I had a balanced strategy.  I ground for about 1/4 of my points, delivered for 1/4, city blocked for 1/4 and had end game scoring cards for about 1/4.  

Review:

So far so good.  I do want to replay this game more, and I don't see any obvious flaws.  End game pacing is pretty bad, but that's expected, there's a lot going on.


Saturday, December 1, 2012

Nerdy Recap - the day the music died

RIP City of Heroes


quite thankful to play board games instead of watching the game I played for the last 8 years slowly die all night.  I did log on for the last hour, but just chatted and said good-bye to everyone.  Last thing I chatted was "2:02 AM, NC-Soft can't even do that right"

I got a laugh from Quatermain :)

4 player King of Tokyo with the Power Up expansion.

The expansion really makes the game go longer.  There's an incentive to try for hearts when you don't need them which means less claws, and less VP sets.

Warren won, despite foolishly discarding the extra head.  He got a crap load of expansion power ups though.

5 Player Lords of Waterderp

Very close, very tense game.  So close and tense, EVERYONE took way too long on their turns.  I may have hypercritically griped about turn length, but the entire table lagged.

I finished dead last, but I was actually still in it until the last turn.   My game was derailed by having a lot of warfare quests and having only 2 spots for fighter supply.  I did King Make though.  I dropped a mandatory quest on Mike turn 7 that probably cost him 15 points.  This wasn't an F U kingmaking though, I honestly thought I still had a chance and wanted to beat up the leader.

John K. won, with what I consider a brilliant tactical play turn 7.  He went first, played an Intrigue card that let him pull back his agent and go again twice right away.  So he claimed the 2 super buildings available, grabbing 6 dudes and denying them to everyone else.

4 player No Thanks!

Who won?  who cares.  OK Warren probably does since he won the most.


Monday, November 26, 2012

F@#$ King of Tokyo

King of Toyko

Plot:  You control the monster, like in Rampage, gaining VPs and doing damage to other monsters wandering around Japan.

Theme:  Decent implementation.  The artwork and power up cards work with the tongue in cheek feel of a monster parody, but the mechanics can be translated to a host of other genre's.

Goal:  You win either by being the first one to get 20 VP or killing all other monsters.


Mechanics:  On your turn roll 6 dice.  You get to keep whatever you want and re-roll the rest, for a total of 3 rolls total.  The results are:

Numbers 1-3:  these require a set of 3 to score VP.  3X1 scores 1 VP, 3X2 scores 2, and 3X3 scores 3.  Any additions to the set of 3 get you a bonus VP, or 4X1 gets you 2 VP, 4X2 gets you 3 VP and so on.

Lightning bolts:  You can buy power ups with lightning bolts, and some require lightning bolts to activate.

Claws:  Claws damage your opponents.  How many opponents depends on your current location.

Hearts:  Hearts heal damage but are location dependent.


Taking and holding Tokyo:

First one to roll a claw takes Tokyo automatically.  Taking Tokyo earns you 1 VP, yippee!
However, all damage rolled now hits you and you can't heal in Tokyo, bummer!
But after taking damage you can leave Tokyo and the monster that just hit you takes Tokyo.
If you start your turn in Tokyo you earn 2 VPs.
If you are in Tokyo, any damage you roll hits everyone else.

Power Ups:

These are just minor things that help you.  Ok, maybe not so minor.  Like rolling an extra die (Extra Head power up) is wicked good.  It also costs 7 lightning bolts.  In general they work like that, the better they are the more pricey they are.

Some other examples (names omitted because I won't remember them anyways...)

Get one of each result, that is 1-2-3-lightning-heart-claw, and earn 9 points.
If you don't do damage on your rolls, earn 1 VP.
Get 2 VP rinnow and discard this card.
Anytime you do damage, you do a bonus point.


Strategy and Tactics:  So much depends on your rolls and the power ups available, so no point in discussing them.  It helps to have a good appreciation on the usefulness of the available power ups.  It also helps to figure out how you are going to win, VP or bludgeoning by midgame.

Review:  This is a good filler style game.  It takes about a half hour to play and is paced well.  While the tactics and strategies aren't deep, they do exist.  It isn't simply rolling dice and hoping.  Having said that, luck does play a huge huge roll.


Sunday, November 25, 2012

Nerdy Black Friday recap

Games played:

King of Tokyo - review coming this week
Ra
Macao - review delayed for at least one more playing.

Game 1 King of Tokyo

Darren won, huzzah!  I would say it was due to my incredible skill, except that I got 3 or 4 extremely lucky rolls.

1) getting enough lightning bolts to buy the extra head first
2) 5 of a kind 1's, or 3 VP
3) 5 of a kind claws, or 5 damage to Mike which basically eliminated him from contention
4) a pair of triples, triple 3 and triple hearts.  Or another 3 VP plus a not insignificant heal when I needed it.

Game 2 Ra

More pure skill!  Not!

I really have no idea how to win this game.  I play not to suck, and every once in a while things work out.  The secret to not sucking is to buy stuff, and it really doesn't matter what it is initially.  I had a terrific round one, including an 8 tile buy during 'guts'.  Those 8 tiles pretty much won me the game, despite a horrific round 2 where I lost 2 points.  Luckily, the people that had good round 2's were the ones that had awful round 1's.  The game turned on suns, which seems to be normal.  I won by 3 points, and I was 2nd lowest suns.  If I had lost suns, I would have lost by 2.

Game 2 Macao

I need to do a little intro.  I do not know if I like this game yet or not.  The primary mechanism is very clever.  There are 6 currencies of influence, each with a different color and a corresponding die.  The die roll is how much you get and how long you have to wait to get it.  However, there is a shit load going on, and at least for the first time I played it, pacing was atrocious.  Pacing did improve as the game went on, so maybe...maybe pacing will improve with more play.  NF will definitely find out.

Anyways, while my internal jury is out on whether I like this game or not, my experience Friday was bad.  I made a couple-three strategic errors really early, knew I was in big big trouble, but still had to get my ass kicked for another 2 hours.


Anyways, my strategic error was sacrificing the future for turn 1 and 2 builds.  You just cannot trade away that much influence for early builds.  I also built marginal, expensive things.  I was scrambling to avoid getting punishment tokens, and I got them anyways.


Juan won, by making very shrewd buys and getting great synergy within his cards.


Monday, November 12, 2012

Nerdy Recap


Broke out Samurai because it's underplayed, goes good with 3, and takes about 45 minutes which was important since Warren was arrived a bit late.

Mike won by getting two out right wins, but the game was much more competitive than that implies.  Mike and I both had 11 total captures.  Circumstances will probably say that we are done with that game for another 3-5 months.

I won 4 player Lords of Waterdeep.

LoWD is an unusual game.  It is about the simplest worker placement game EVER but there are quite a few subtleties that I am just now starting to grasp.  One thing is evident; this game has no run away leader problem.  I had about as poor of a start that you could have, and Ryan had about as good of a start as you can have.  I finished first and Ryan 3rd.  I turned it around with a plot quest that I thought I built too late, and one of the $8 awesome buildings.  I don't know if this is true in general yet, but this game sweeping the 4 quests showing and taking your pick of 4 new ones was a much better idea than taking an sub-optimum quest in order to gain 2 bucks or an intrigue card.

BTW, we had a rules clarification that's kind of important.  You can only complete 1 quest per action.  What does this mean?   You can't bank dudes for an amazing comeback late, you can't cascade new quests with adventurers gained as rewards, and mandatory quests are really really mean.

Two quick games of 3 player King of Tokyo was split between Mike and I.  No analysis here, except Warren, roll better or something.

I believe everyone won at least 1 round of  3 player No Thanks!  It's No Thanks, so nothing to offer here either

Saturday, October 6, 2012

F@#$ Tredegar Iron Works, Yellow Tavern, Cold Harbor and Grant's James River headquarters

So I left off with us failing to find the North Anna Battlefield.  We did find Patrick Henry's house.

"Slavery built that"

Not part of the Overland Campaign so that can F@#$ right off.  Doswell is also a particularly uninteresting part of Virginia too.  Farmhouses, a post office and a coin laundry.  Maybe I feel that way because I saw everything 4 times.

I digress.  South on Highway 1, the Jefferson Davis Expressway till we find an I-95 on ramp.  Onto I-95 to Ashland.

Mistake #4:  Thinking that an information center would be easy to find.  Ok willing to bet that every Virginia town has a historical visitors center, so perhaps the sheer volume of them stopped the tourism boards from placing them in convenient places.  This probably cost us another half hour.

So between the late start, the scenic route, HMDB.com shenanigans and Ashland, we are probably 2 hours behind were we should be.

We are thoroughly disoriented and need to reset, so onto Richmond.

Mistake #5:  Also more of a choice.  Diversion at Tredegar.

The Tredegar Ironworks was the South's biggest foundry, and one of the reasons why the capitol was moved from Montgomery, Alabama to Richmond.  It looks wicked cool and we succumbed to temptation.


The museum was really good too.  Gettysburg is better, but come on, it's Gettysburg.  This one gave 3 different view points, North perspective, South perspective and Slaves perspective.  We didn't dally, but I did catch the end of the causes of the war video playing, and since we took a tangent on the trip, my blog will take one too.

The tail end said something along the lines that although the majority of soldiers on both sides primary motivation wasn't slavery, it is hard to imagine this war occurring without that 'Peculiar Insitution'

Thank you nameless actor/historian/narrator.

The most frustrating thing about my research, and I use that term loosely (If you can call reading Shelby Foote and Bruce Catton's anthologies research, than I have done research aplenty.) is the Lost Cause revisionist history.

The war was about slavery.  

Because preserving the Union was about slavery.  The South seceded because an Abolitionist President was elected.  Lincoln, at the time  was about as moderate of an abolitionist as you can get, but still an abolitionist.  Lincoln did not favor emancipation.  Lincoln favored stopping the expansion of slavery.  For slavery to work as an economic system, new slave territories needed to be opened, and blocking slave state expansion guaranteed that slavery dies on the vine.

States Rights was about slavery.  The supremacy of the state government over the federal government is so abstract that no average person really gives a rats ass.  But give a law maker that wedge, and they will use it.  And what was the issue the South used States Rights for?  Survey Says "SLAVERY!  Number one answer."

The war was about economics, but that too is directly related to slavery.  A strong case can be made that, as a region, the South resented the Northern States Ascendency. But their answer to that problem?  MOAR SLAVERY!  Shelby Foote lists Southern designs on Cuba and Mexico for Slavery expansion.

Or as Sean put it, if one side is fighting to free the slaves, and the other side opposes them and does not free the slaves, then the war is about slavery.

/end tangent.

So Tredegar was cool, but we saw too little of it.  Just got enough to make sure that if I ever go back to Richmond, I know I need to spend several hours there.

Mistake #6:  Yellow Tavern

Again, more of a choice.  Yellow Tavern was the culmination of Sheridan's first raid, and the big event is that J.E.B. Stuart was killed.

Sheridan convinced Grant that he could beat the hell out of Stuart if he would just let him.   So off on a raid he went.

A raid implies a darting fast thrust.  This did not happen this raid.

See Sheridan and Grant both had some good insight.  The goal was not Richmond.  Richmond is an important city, both politically as the CSA's capital and because of industry.  But capturing Richmond doesn't end the war.  Defeating the Army of Northern Virginia does.

Sheridan went out to pick a fight.  His troopers 'raided' at the walk not a trot or gallop.  His goal was to get the Reb cavalry into a place where they had to fight.  Yellow Tavern is on the outskirts of Richmond, and Stuart had to respect the threat.  Even if the Federals can't hold Richmond, a raid can still really mess things up.  So Stuart made a stand at Yellow Tavern and died there.  After defeating the Confederate cavalry, Sheridan returned to Union lines.  He didn't even try for Richmond, knowing he couldn't hold it.

Mistake #6:  Various wrong turns.  Ok this was to be expected.  But it really seemed to happen a lot on the way from Yellow Tavern to Cold Harbor.  We ended up skipping lunch.  We were both hungry, but its like 2:00 already, we meet Liz in 4 hours.  So fatigue and road map eyes really starts to set in.  I am looking for places to turn around lots.

Mistake #7:  Actually NOT A MISTAKE AT ALL, but I got a theme here, ya dig?  Battlefield at Cold Harbor.

The visitors center is actually really really cool.  The best on the battlefield trail for Grant's campaign.    They have an LED map, that lights up with Union and Confederate troop movements and shows the clashes with accompanying narration.

A quick recount of the battle.  Grant has once again moved southeast to Richmond.  He has some early success, takes encouragement and orders some more frontal assaults.  A frontal assault against a dug in position has the same results here as it did everywhere else on the campaign.  Grant lost 4,000 men in a matter of hours on June 3 1864, and around 10,000-15,000 for the entire engagement.  Lee lost 2500-5000 total.

Sean and I did the walking tour and neglected the auto tour.  Burning daylight after all.  

  Civil War trip.  No such thing as too many canons.


 More of the bridge over earth works.

 
and some more ditches.  These are the most impressive so far, they actually look like fortifications and not storm water drainage.


Mistake #8:  Eyes bigger than our stomachs.

Next stop, Grant's crossing sight.  MOAR wrong turns ensue

So that's the route now. 


We get to about here.   That's another 20 miles on back roads, and we have to double back anyways because there ain't no bridge.

Murph, wisely cuts this short.  We'll just cross the James, we don't have to go to the exact point for the sign.

It is however disappointing, because this is the moment of the Overland Campaign.  Grant has fooled Lee.  Lee doesn't have a clue where he is.  He thinks either Grant has withdrawn or he's making another short swing around to the southeast.  Cold Harbor is only 10 miles from Richmond after all.

More importantly, Grant sees the whole board.  The key to Richmond is the Army of Northern Virginia.  The vulnerability of the Army of Northern Virginia is supplies, and the supplies rely on the railroads.  If Grant can capture Petersburg, a junction of 5 railroads, Lee can't hold Richmond.

Mistake #9:  Also not a mistake.  We make it to Grant's HQ in Hopewell.  On the above map just north of the W in Hopewell is where he made his headquarters.


                                                 This is the actual cabin Grant had built to stay in.  It was moved to  Philly then moved back here for a restoration project.
                                                                                          Me and a Civil War Pose


Mistake #10:  Too many F@#$ing campaigns in Virginia.

Next Stop Fort Harrison


Fort Harrison is kind of on the way to Richmond so really kind of a minor one.  But it had only a passing relation to Grant's Overland Campaign.  The Overland Campaign was just one of 4 thrusts Grant planned.  He wanted simultaneous campaigns in the Shenandoah, against Atlanta, and up the James river here.  Unfortunately the James River campaign was commanded by General Butler, as incompetent Union commander as you can find.  Fort Harrison was one of the many places he was stymied.

So only 10 mistakes not 12 like I said.  These all added up to probably 3 or 4 hours lost time.  Time that we could have spent on the first part of Petersburg.  So a week removed, no longer a big deal.  The story is probably worth more than the experience of doing it without a hitch.  But I do have vivid memories that last Sunday was way too much windshield time and not nearly enough getting out and walking around time.

So we met Liz Chesterman in a closed K-Mart parking lot so we could all go to dinner together.  She took us to Hickory Notch in Oilville, or 20 miles west of Richmond.  Hickory Notch was DELICIOUS.  All's well that ends well, a good meal and a trip up I-95 back to F-Burg.


F@#$ North Anna. That is sincere and not just an amusing title

Where to start?

This may come out like a bitch-fest but I didn't start getting grouchy until about 3:30, after Sean and I finished the Cold Harbor hike.  We still had 5 hours ahead of us, so yeah not our best day.  We started snapping at each other.  Nothing that hurts feelings, just the kind of remarks that let both of us know that the day didn't go well.

There wasn't a single catastrophic mistake.  There were a dozen little ones that robbed us of a half hour here, an hour there.  Compounded together, those conspired/ensured that we didn't accomplish nearly as much on the day that we could have.  And you can't really even consider most of them mistakes (although I will label them as such).  They are more accurately portrayed as choices.

Mistake #1:  Not leaving till 9:00.  This one was more of a choice.  WE ARE ON VACATION.  We shouldn't need to worry about schedules.

Most of these are completely hindsight too.  But an hour less at the Best Western that morning would have really worked to our advantage.

Mistake #2:  The Scenic Route. 

The red circle is King's Dominion amusement park.  The directions for the North Anna battlefield marker actually start 5 miles north of here, but its a good landmark.  The blue scribble is our approximate path instead of I-95.

 This again is more of a choice, and not exactly wasted time.  The scenery is great and we stop for some Instagram Moments.


The first 3 are all at the same place.

 remind me to photoshop Murph out.
 I.
Don't.
Even.
Know.
 Grant slept near a church here for a night.  Got a really good stink eye from a lady pulling out of the parking lot.

So these are the signs I am constantly referencing and not posting pictures of.  Hopefully now you see why.


Mistake #3:

Not actually our mistake.  The interwebs lied to us.

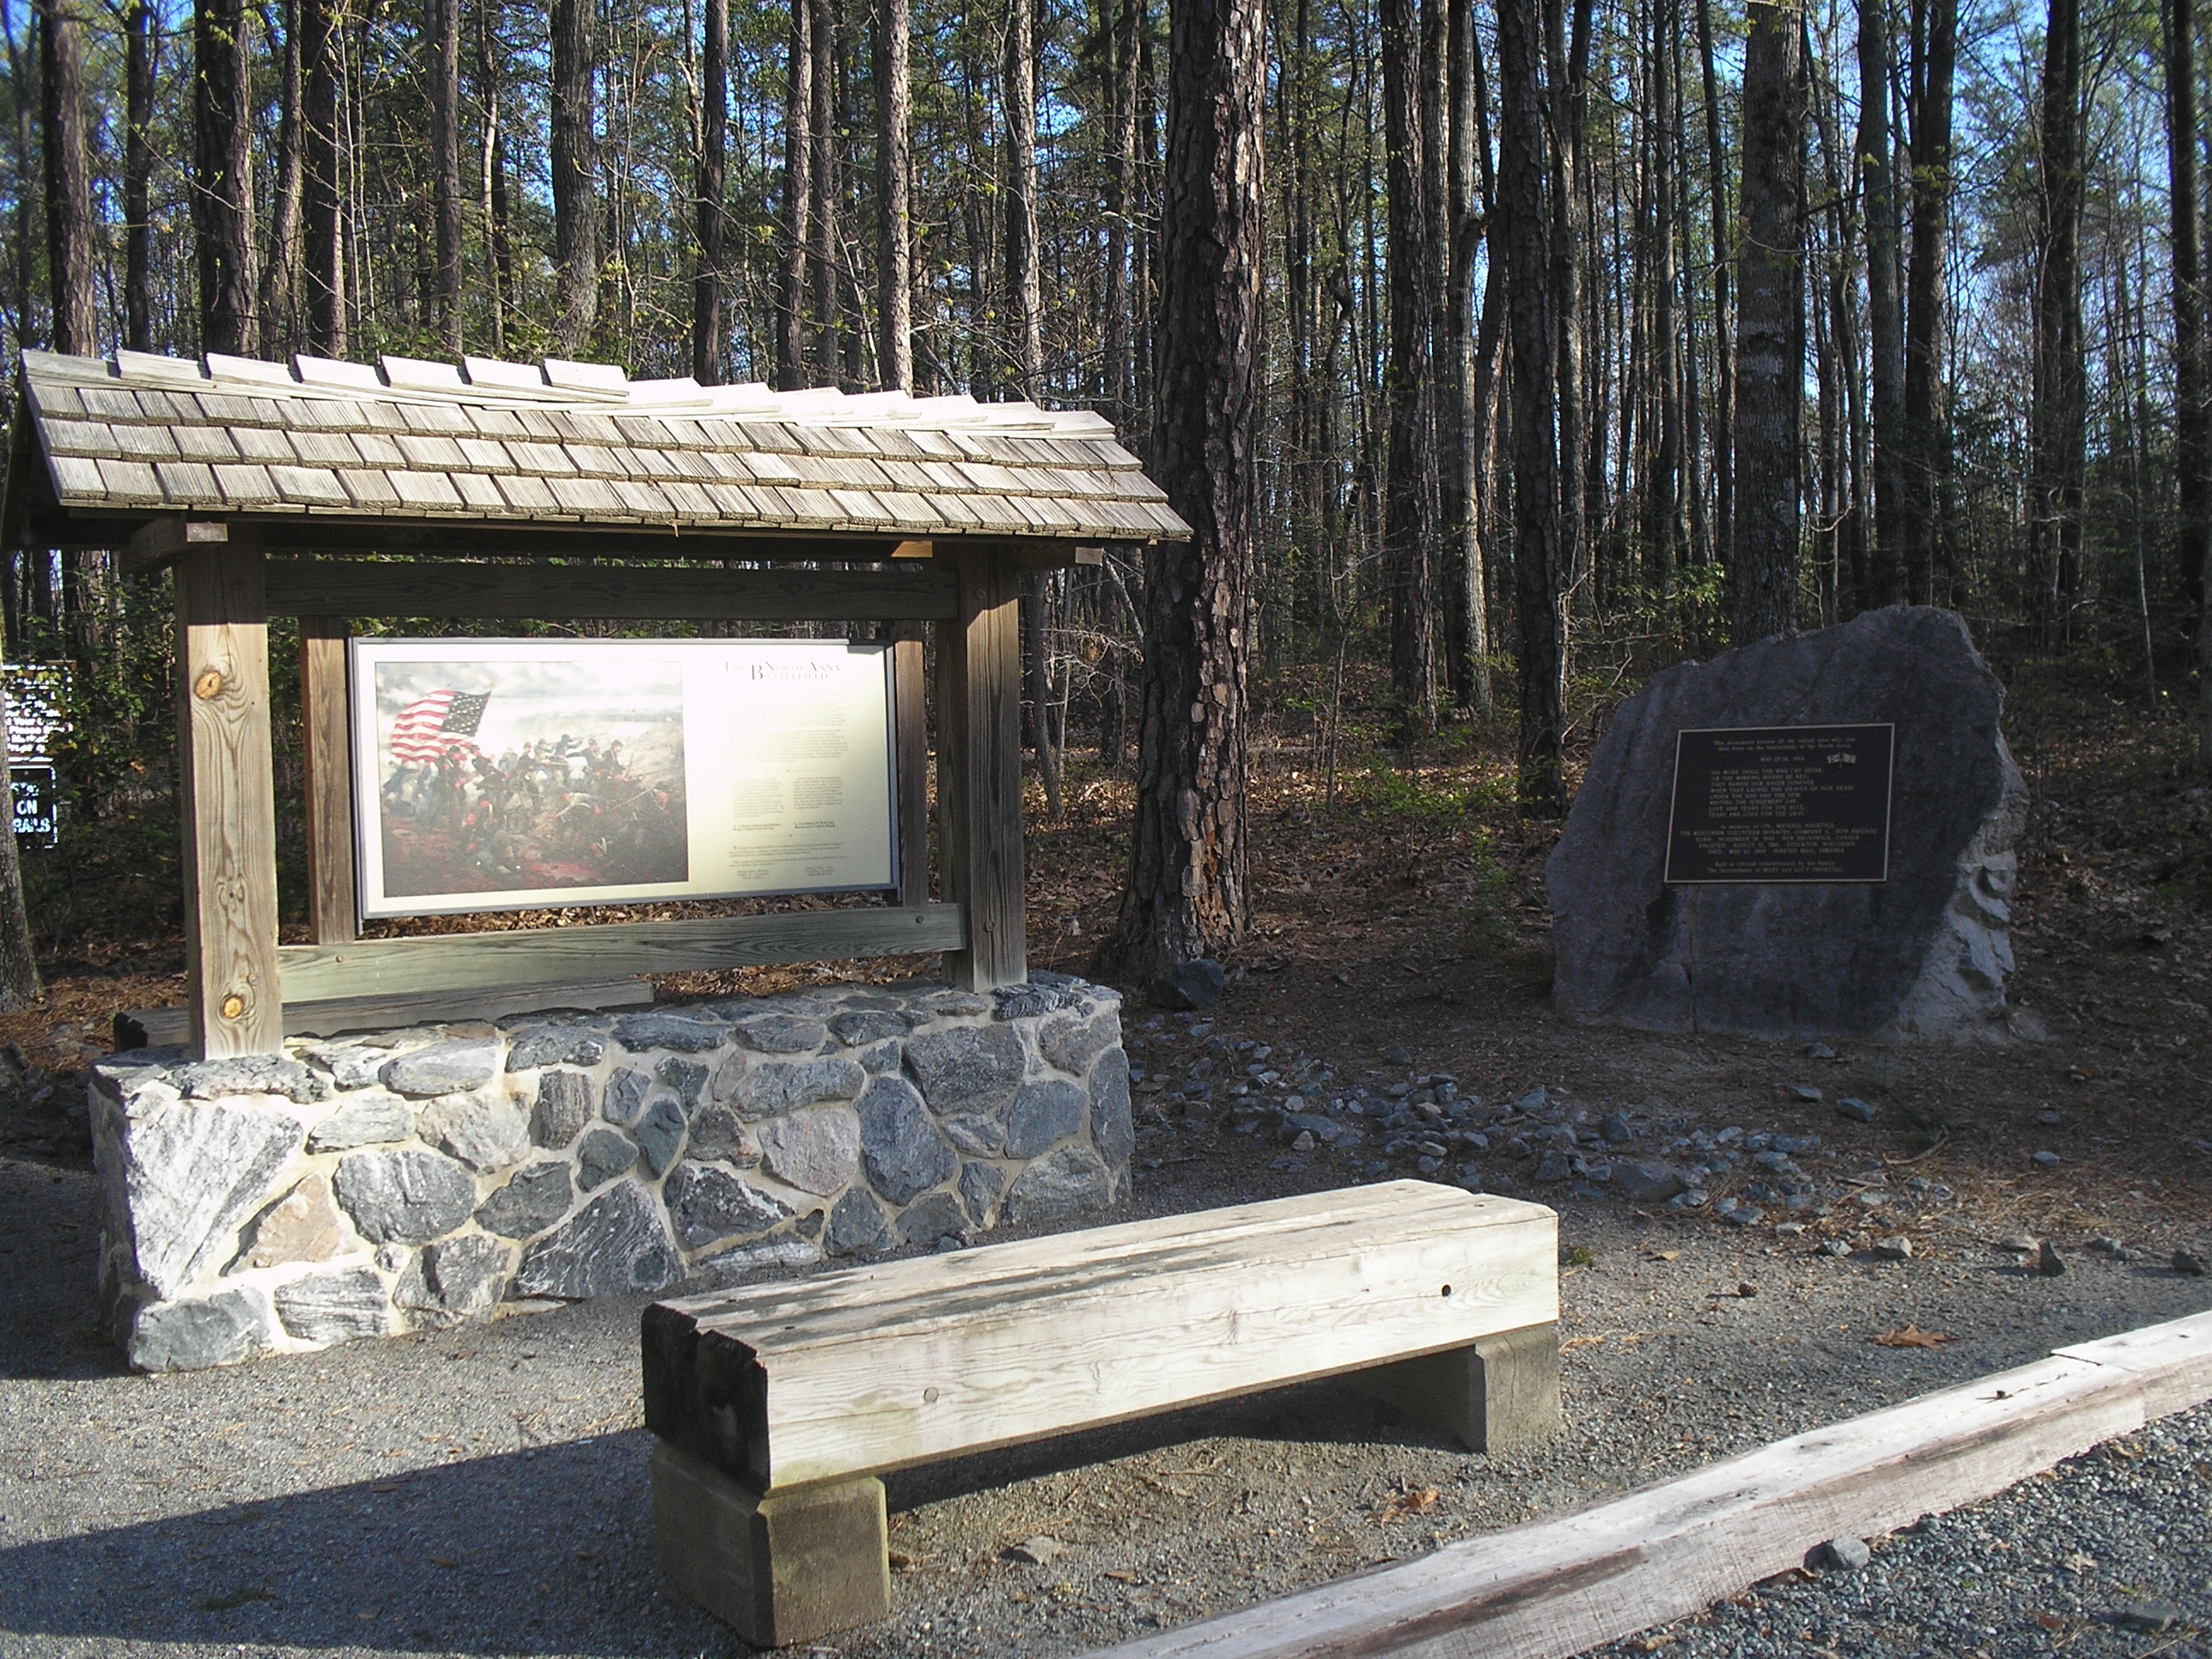
So North Anna actually gets more than a sign, they get an exhibit.  NOT my photo.


and there's this cool website that lists a bunch of historical markers HMDB, and gives directions on how to find them.


Location. 37° 52.897′ N, 77° 29.947′ W. Marker is in Doswell, Virginia, in Hanover County. Marker can be reached from Doswell Road (Virginia Route 685), on the right when traveling west. Click for map. Marker is in the parking lot of North Anna Battlefield Park, near the trailhead. Marker is in this post office area: Doswell VA 23047, United States of America.

Clear as mud right?  Except that Doswell Road is Virginia 688.


685 is in the ballpark,
but clearly not Doswell Road.  We travel 688 back and forth, even going to the far side of I-95 without seeing the marker.  Then we look for 685, back over 688, find 685, drive that for 10 miles give up and turn around  back the way we came and headed back to Highway 1.  Four times on the same stretch of 688.  See that river marked by the red line?  Pretty sure that's the North Anna River, which we crossed 4 times.

Anyways battle of North Anna.  Grant split his forces across the river, and Lee had a chance to attack and defeat the larger army in detail.  Lee fell ill; varying sources describe wildly different maladies.  Anything from explosive diarrhea to a heart attack.  Doesn't matter, Lee's legacy has already been enshrined.  The important thing is that he was bedridden and unable to coordinate the attack and at this point had leadership problems with his corps commanders.  A.P. Hill was also sick.  Ewell was a disappointment, Longstreet was recovering from getting shot in the neck a month ago, and his replacement Gordon was too inexperienced.  By the time Lee recovered, Grant had consolidated the Army of the Potomac once again.

More Sunday mistakes to follow.